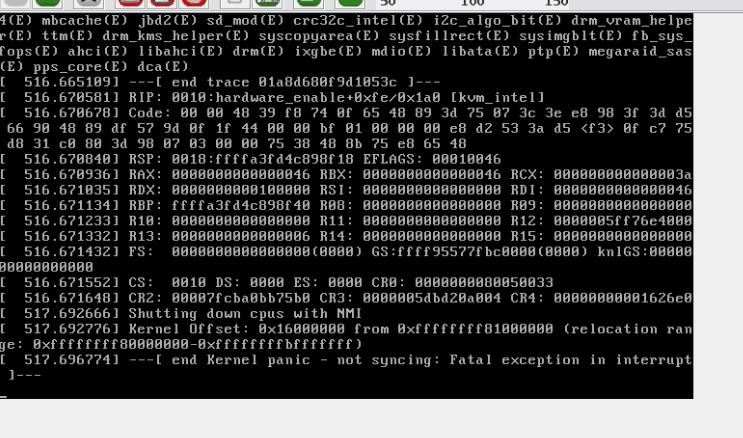
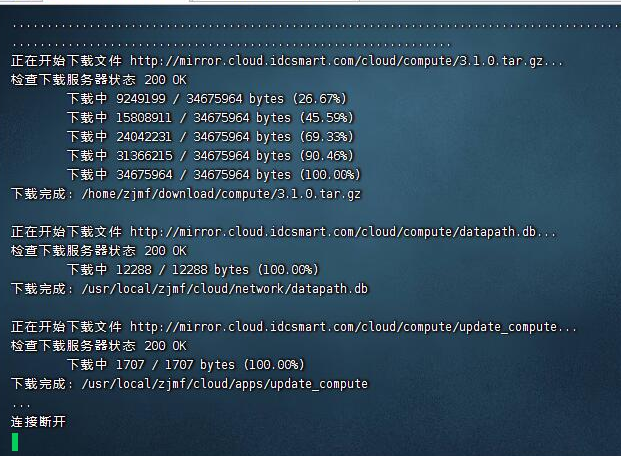
首先我们看下内核崩溃的样子

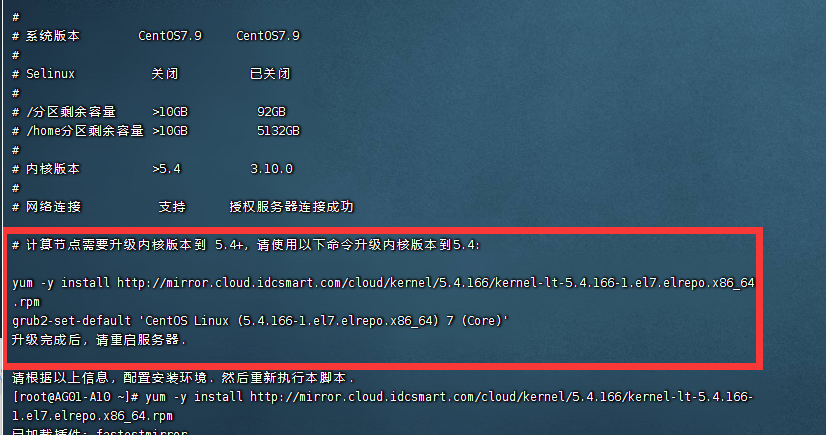
执行到下一面这步


由于魔方云节点安装必须内核要大于指定的,所以参考我们下面的方式升级内核不用脚本提示的那种升级避免系统内核升级安装出现系统崩溃
1.首先执行升级内核
yum -y update
rpm --import https://www.elrepo.org/RPM-GPG-KEY-elrepo.org
rpm -Uvh http://www.elrepo.org/elrepo-release-7.0-3.el7.elrepo.noarch.rpm
yum --enablerepo=elrepo-kernel install kernel-lt
安装中途需要输入y就输入y
安装完毕后 输入下面查看内核
awk -F \' '$1=="menuentry " {print i++ " : " $2}' /etc/grub2.cfg下面是执行列子:
[root@AG01-A10 ~]# awk -F \' '$1=="menuentry " {print i++ " : " $2}' /etc/grub2.cfg
0 : CentOS Linux (5.4.192-1.el7.elrepo.x86_64) 7 (Core)
1 : CentOS Linux (3.10.0-1160.62.1.el7.x86_64) 7 (Core)
2 : CentOS Linux (3.10.0-1160.el7.x86_64) 7 (Core)
3 : CentOS Linux (0-rescue-4a6d0061d909481088e06e57a0cbfd2d) 7 (Core)
这里可以看到0选项的5.4.192 那么我们就选择这个最新的 版本最高了
然后执行下面语句
grub2-set-default '内核名字'
grub2-set-default 'CentOS Linux (5.4.192-1.el7.elrepo.x86_64) 7 (Core)'然后执行完毕 重启机器
reboot重启好了 记得去检查网卡
cd /etc/sysconfig/network-scripts这个目录下的 一般网卡
ifcfg-XXXX0 格式 我们这边是ifcfg-ens255f0
然后打开 删除多余的IP dns 一般主的设置8.8.8.8 副的设置114.114.114.114
DEVICE="ens255f0"
ONBOOT="yes"
HWADDR="2C:60:0C:83:B3:90"
ARPCHECK=no
GATEWAY="110.115.4.65"
IPADDR="110.115.4.66"
NETMASK="255.255.255.192"
DNS1="8.8.8.8"
DNS2="114.114.114.114"
然后 我们修改成是这样了 记住哦 网卡名称不要随便修改哦
然后重启网卡 执行命令:
service network restart重启成功 我们安装魔方脚本
一般机器没有wget 所以我们还需要执行下安装wget
yum -y install wget或者 我们直接使用下面的方式 一键执行
yum -y install wget;wget https://mirror.cloud.idcsmart.com/cloud/scripts/install-zjmf-cloud -O install-zjmf-cloud && chmod +x install-zjmf-cloud && ./install-zjmf-cloud然后就是一律正常安装魔方脚本了
]]>